
Let's review how to create and run a custom report.
While the application comes pre-loaded with a large number of reports (Reports >Snapshot Reports), the Main Account and users with View & Edit permissions to the Admin tab have the option to create Custom Reports.
Custom reports allow you to generate a vast variety of reports with extensive filtering. Custom reports can be run at any time and can be printed as a PDF document, or exported as a CSV (comma-separated value) file that can be imported to a spreadsheet application (i.e. Microsoft Excel).
Users have the option to create three types of custom reports:
- Custom Client
- Custom Schedule
- Custom Payment
The fields available for use vary among the three report types, but they can all be built and executed in the same way.
Step 1 - Create the Report Layout
Create a new Custom Report:
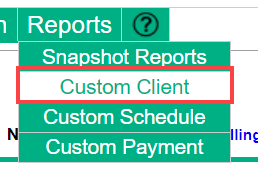
- Navigate to a custom report page (Client, Schedule, Payment) using the Reports tab
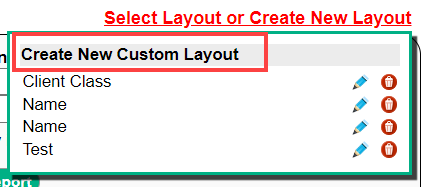
- Click Select Layout or Create New Layout
- Create New Custom Layout
This will bring up the New Report Layout screen.
The outline of the screen is as follows:
- 1 - Layout Header: This will be the title that is printed/displayed at the top of the report.
- 2 - Layout Name: This will be the name that appears in the drop-down list when selecting which report you want to run.
- 3 - Heading Display: This will show how the column headings will display on the report as well as the width of each column.
- 4 - Available Columns: This will show the fields with their default column headings that are available for reporting.
- 5 - Current Columns: This will be the fields/columns you have chosen to display on the report.
Establish Columns
To add fields/columns to the report, simply click on the field you would like in Available Columns, then “Drag & Drop” the field over to the Current Columns area. Once in the Current Columns area, you can reorder the fields as desired.
As column headings are added, they will display in the heading display box.
Note: The Write-Off column header is no longer used and will cause reports to appear blank. Do not use this field.
Edit Formatting of the Columns
By clicking the on a field, several formatting options will appear:
- Adjust the width of the column as it is displayed on the report
- Change the formatting to Bold, Italic, or Underlined
- Adjust the alignment of the text to be left, center, or right justified.
You can also adjust the width of the columns by clicking on the line that separates the columns in the Heading Display and then dragging the size of each box to the desired width.
Once all desired column headings are selected and formatted, click Save and Done.
Note: Editing the Columns Title will only affect the current layout.
Step 2 - Run the Report; Filter or Group Results
To run the report:
- Click the red Select Layout or Create New Layout in the Custom Reports Page.
- Select the report from the drop-down menu.
- Enter/select any desired filters.
- Click the green View Report button to display the results.
To group or sort the results:
- Select desired categories to group results from the Group By drop-down menu. Custom reports can be grouped up to three times.
- Click the View Report button to display the results.
- Clicking any column heading displayed on the report will sort the information into ascending or descending order.
To print or export results:
- Click the Print Report button to print results as a PDF document.
- Click the CSV/Excel Report button to export results to a CSV.
Custom Birthday Report
Members can create a Birthday Report using the Custom Client Report. When creating the report, include the Client’s Name, Birthdate, and Email Address/Home Address.
- Navigate to Reports then Custom Client.
- Click on Select Layout or Create a New Layout, then Create New Custom Layout.
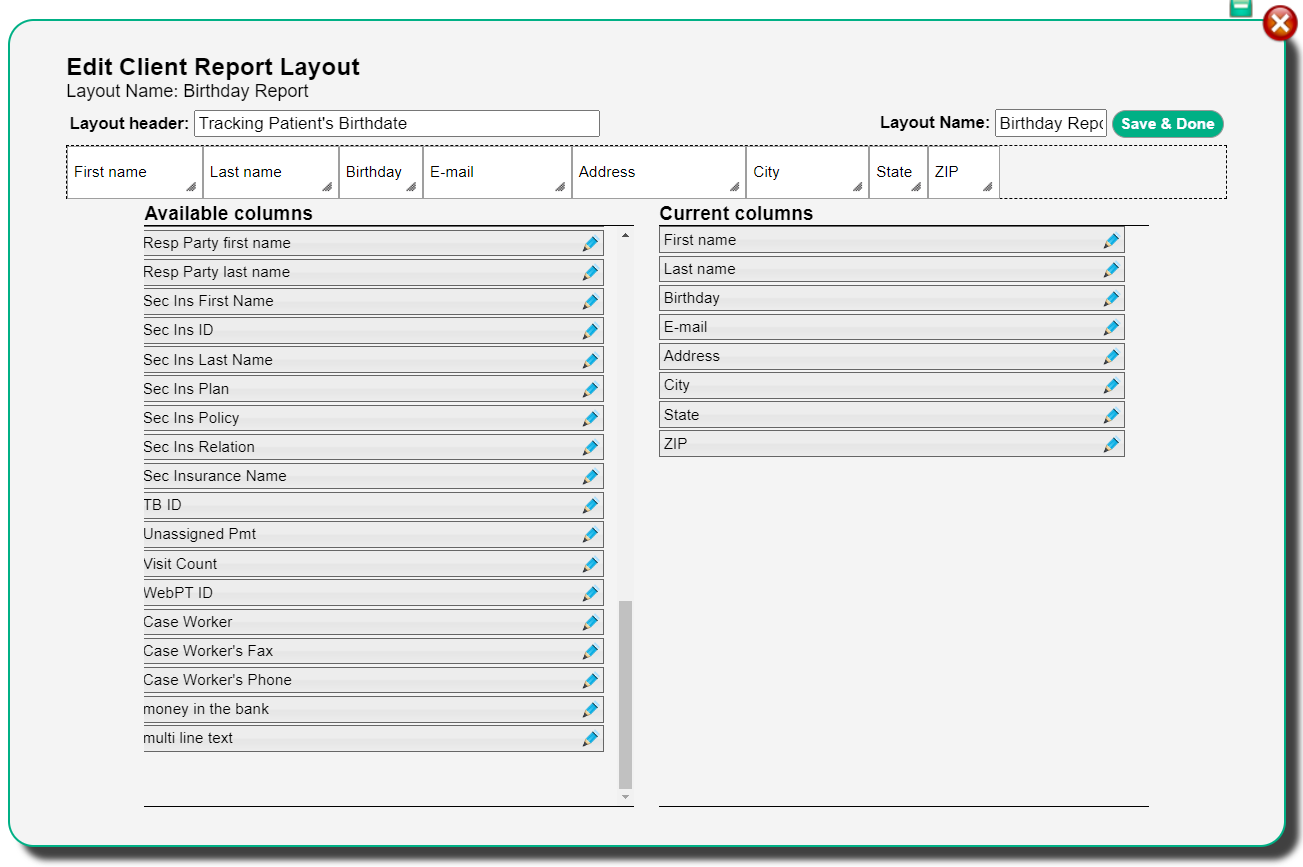
- For the New Client Report Layout, enter a description into the Layout Header and Birthday Report in the Layout Name. Drag and Drop the following columns from the Available columns into the Current Columns.
-
-
- First name
- Last name
- Birthday
- Address
- City
- State
- ZIP
-
- Click Save & Done.
- Once the report is created, click Select Layout or Create New Layout to select and run the Birthday Report.
Comments
0 comments
Article is closed for comments.