
Note: If you are integrated with WebPT, you can also upload patient-specific files in the patient's eDoc.
You have the ability to upload files from your computer and store them within the application. When you upload a file from your computer, they can be attached to a client or a session. This is useful for keeping track of your paper EOBs.
Attachment Parameters
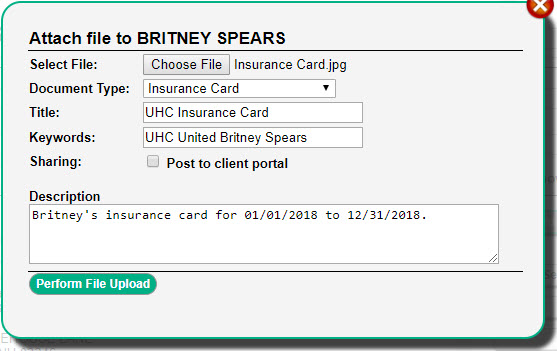
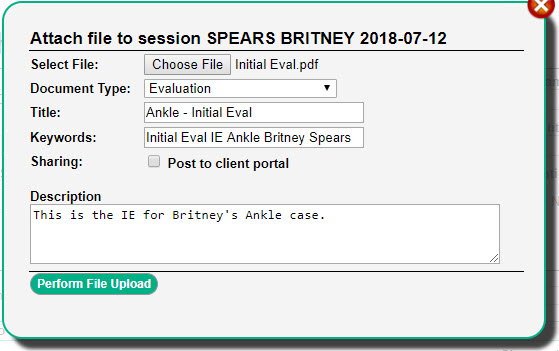
The attach file form has the following parameters for you to enter. Aside from Select File, all parameters are optional.
- Select File - Click the Choose File button to open a new window allowing you to select a file from your computer.
- Document Type - Indicate the type of file you are attaching (i.e. Evaluation or Insurance Card).
- Title - This is displayed throughout the application, including the Filing cabinet. It is recommended to use a short title.
- Keywords - Additional words to associate with the file. This will allow for the file to be located easier when using a Search field.
- Sharing - Posts the file to the client's account if your clinic uses the Client Portal add-on.
- Description - You can enter a longer description of the file here.
Attach a File to a Client
- Navigate to Clients > Clients List.
- Locate the desired client and click the
 icon.
icon. - Select Attach File.
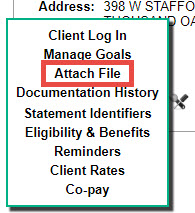
- Use the Choose File button to select the file you want to upload and attach.
- Optionally, you can indicate the Document Type, Title, Keywords, Sharing option, and the file Description.
- Finish uploading the file by clicking Perform File Upload.
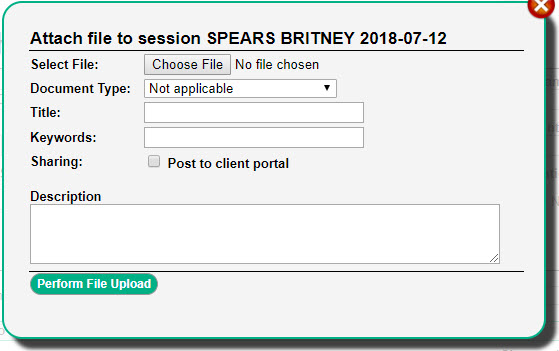
Attach a File to a Session
- Navigate to Schedule > Search Sessions.
- Locate the desired session and edit it using the
 icon.
icon. - Select the
 icon located at the top of the new window.
 - Use the Choose File button to select the file you want to upload and attach.
- Optionally, you can indicate the Document Type, Title, Keywords, Sharing option, and the file Description.
- Finish uploading the file by clicking Perform File Upload.
Comments
0 comments
Article is closed for comments.