
If you are using Authorization Watch, the system is checking if an authorization is attached to a session before creating a claim. Once the claim has been created, the authorization is locked on the session. That way, if you ever have to resubmit the session, the authorization is reused.
How to remove an authorization assigned to a session
You may have accidentally attached the wrong authorization when originally submitting a claim or the insurance has provided you an alternate auth to use. In these cases, you will need to remove the locked authorization.
- Open the Add/Edit Session window using your preferred method.
- In the Billing & Coding area, click on the authorization number.
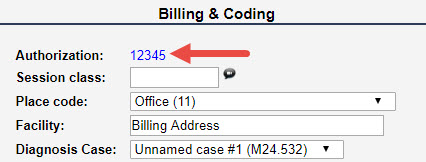
- The locked authorization will be highlighted in green. Click on the authorization number.

- This opens the Sessions on Authorization screen. It will display all sessions that have been invoiced using this authorization number. Click on the
 icon and select Yes to remove the authorization.
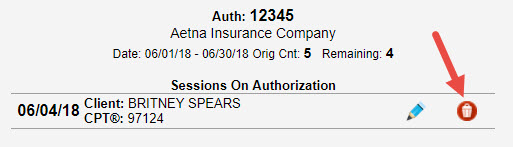
The next time you create an invoice for that Date of Service, you will need to Force an Authorization on the Session unless Auth Watch has since been turned off.
Comments
0 comments
Article is closed for comments.