Assigning client sessions to Rooms allows you to track room usage and availability at your clinic. This is especially helpful for companies with multiple service locations or many treatment rooms. Effective use of Rooms ensures your spaces are not double-booked and allows you to report on the rooms used for specific sessions.
Add A Room
Prior to assigning a session to a specific location, you’ll need to complete the following Room setup.
1. From your Dashboard, start by going to the Admin menu and selecting Member Info.

2. In the Service Facility area, click the Rooms link. 
3. When the Mange Rooms screen populates, type in the desired name for the room and click the ADD button.

Note: Once a room is added, you can edit the room’s name or delete the room from the list using the available icons.
4. Click Close.
Assigning the Room to a Session
A room can be linked to a new session or to a session that already exists in the patient’s chart. In order for a room to be linked to a session, you must select the room from within the session itself.
1. Click the blue pencil  for the session to go to the Editing Session screen.

Note: Keep in mind that you can click the blue pencil to reach the Editing Session screen from multiple areas in Therabill.
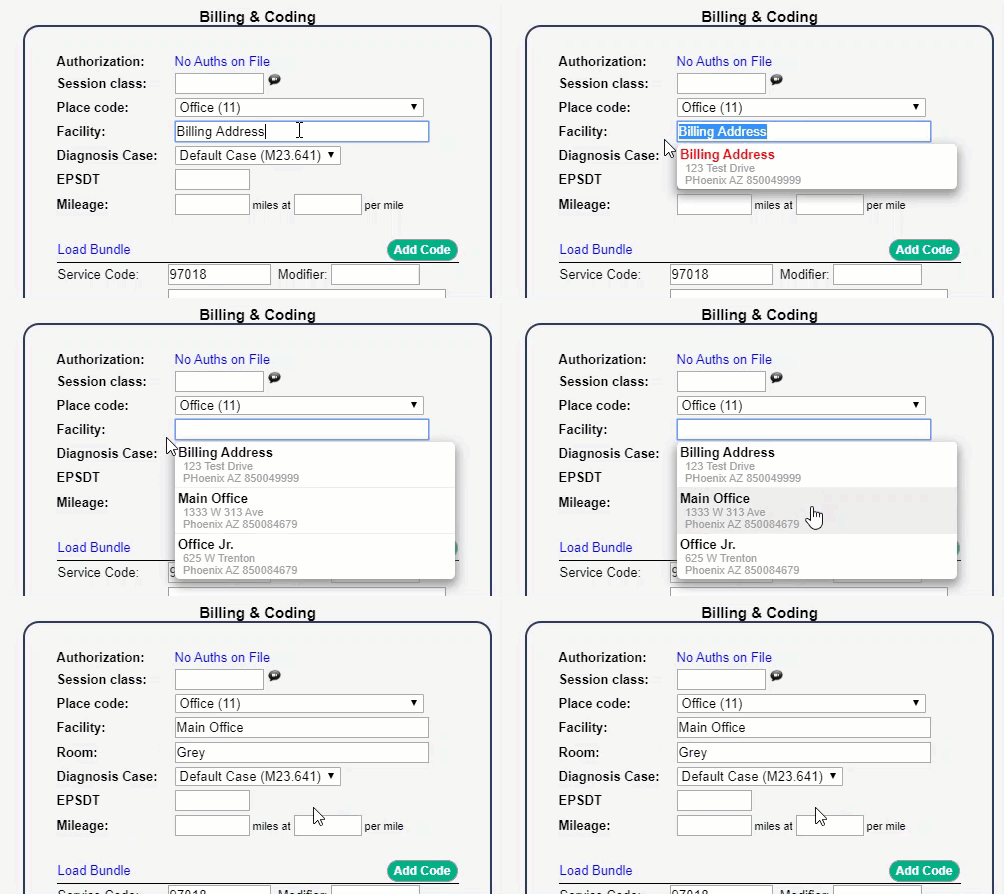
2. In the Editing Session screen, locate the Service Facility field.

3. Delete the facility that may be listed in order to see the drop-down list.
4. Once you select the facility, there will be a room field that will populate directly under the facility field.

Important: If no rooms have been created for the service facility listed, the Room field won’t appear.
5. Once you begin to type in the room name, select your room of choice from the drop-down.
6. At the bottom, select Save & Edit to make more edits or Save & Done to go to the previous screen.
View Rooms on the Calendar
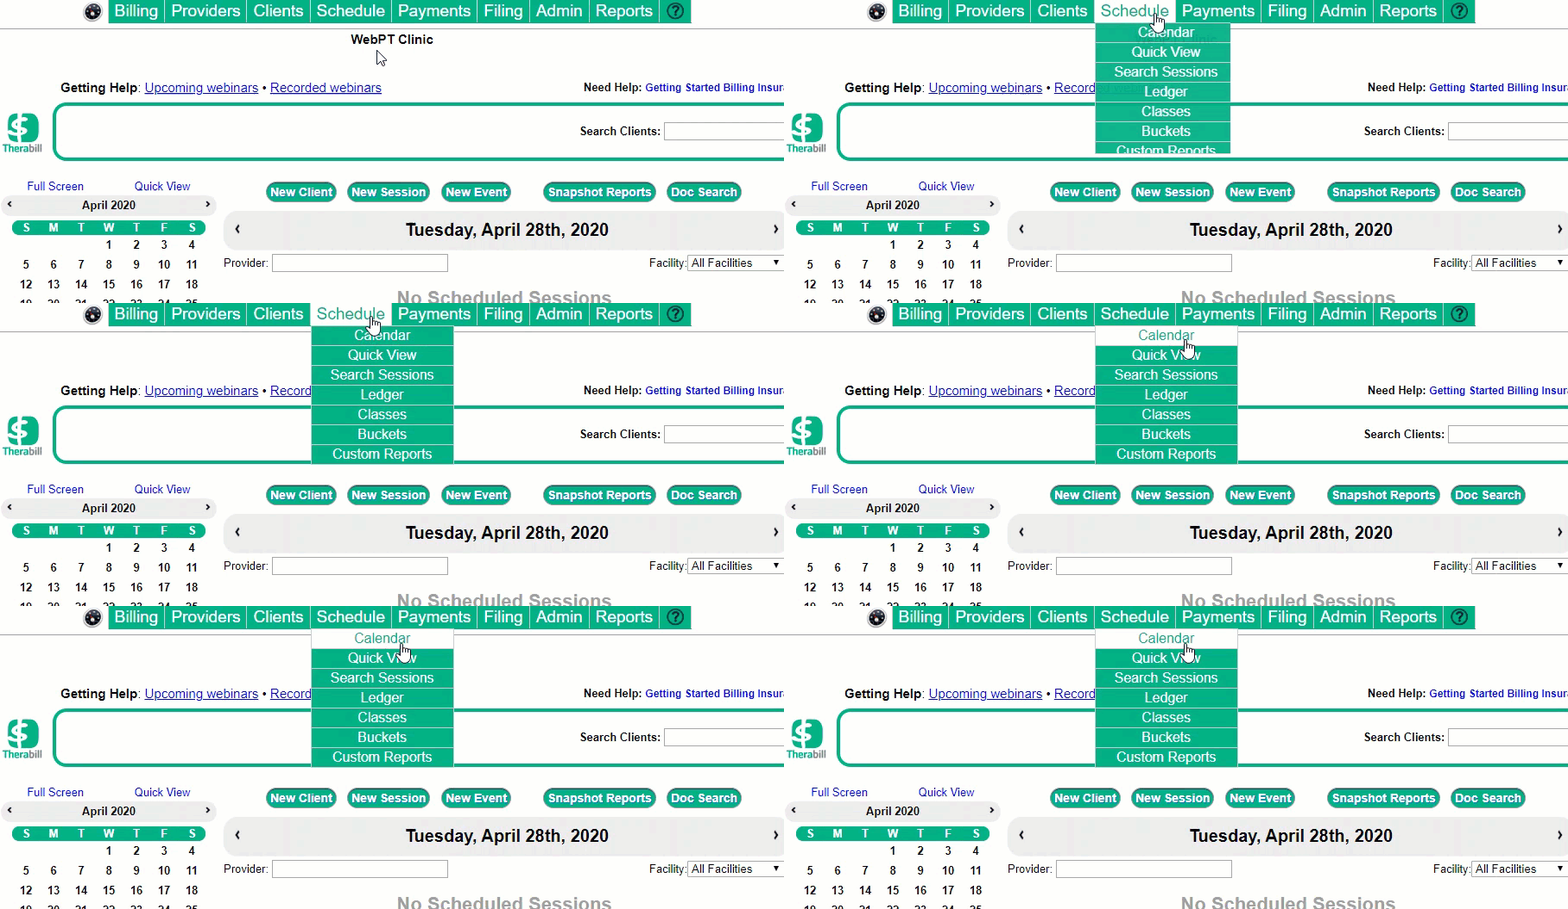
1. Click on Schedule, then select Calendar.

Important: You must be viewing the calendar by the week or daily view for the next step. If you are not in one of those two views, you will not see the field needed.
2. To the left of where the date is listed at the top of the calendar, click the Color By field to color the calendar by Room.

Note: It is recommended that you change the color of 1 or more rooms in order to see the different options. If a client has not been assigned to a room, they will automatically be placed in the Unassigned option.

Reporting Options
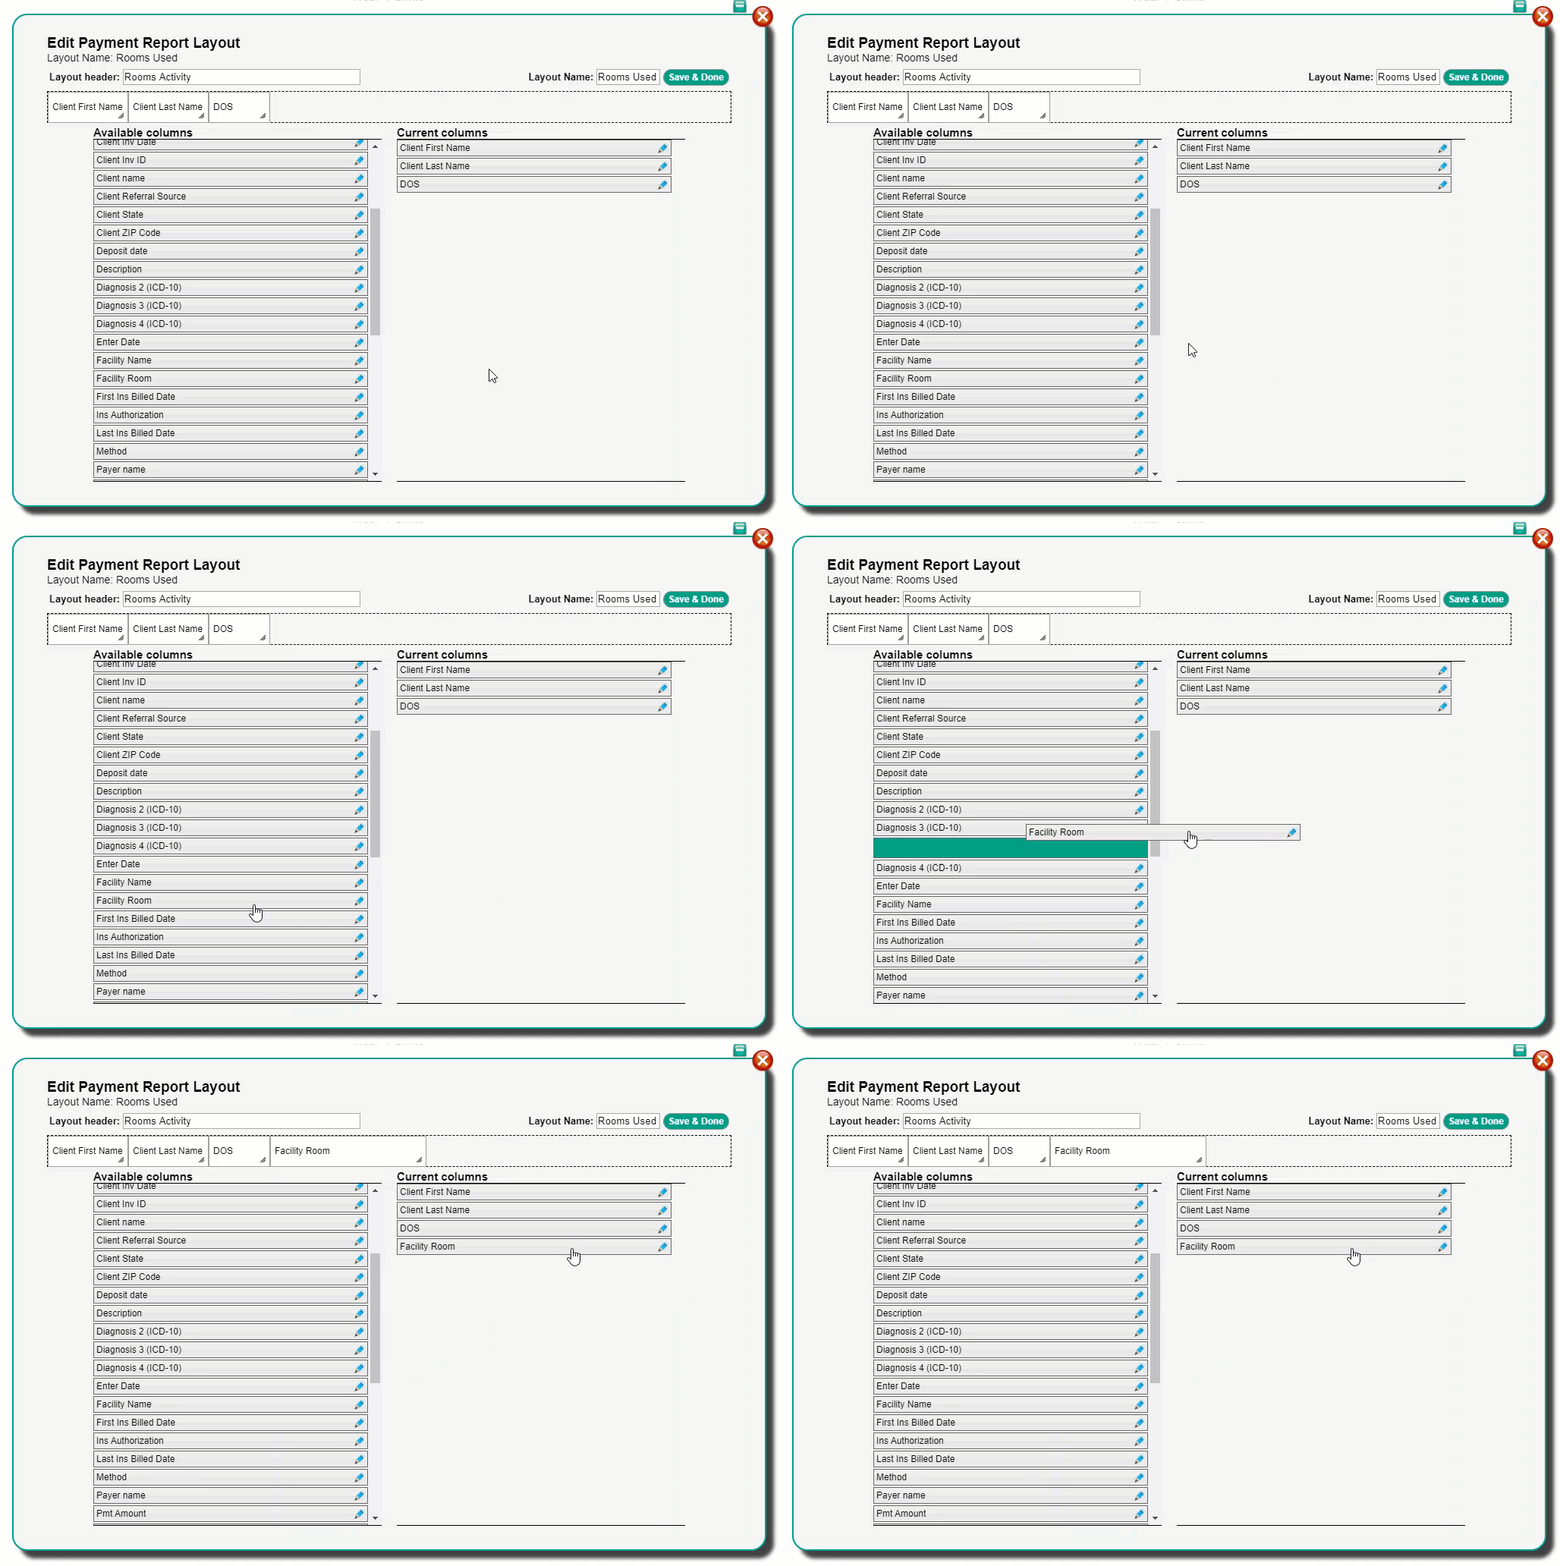
The Custom Payment Report can be used in order to gather reporting information for the rooms if needed. From your Dashboard, start by going to the Payment menu and select Custom Reports, or you can also go to the Reports menu and choose Custom Payment. When creating the custom report layout, choose the Facility Room column.
Once you have created the layout for the report, you can also group the report by Room Name. Click here to learn how to create a custom report.


Comments
0 comments
Please sign in to leave a comment.