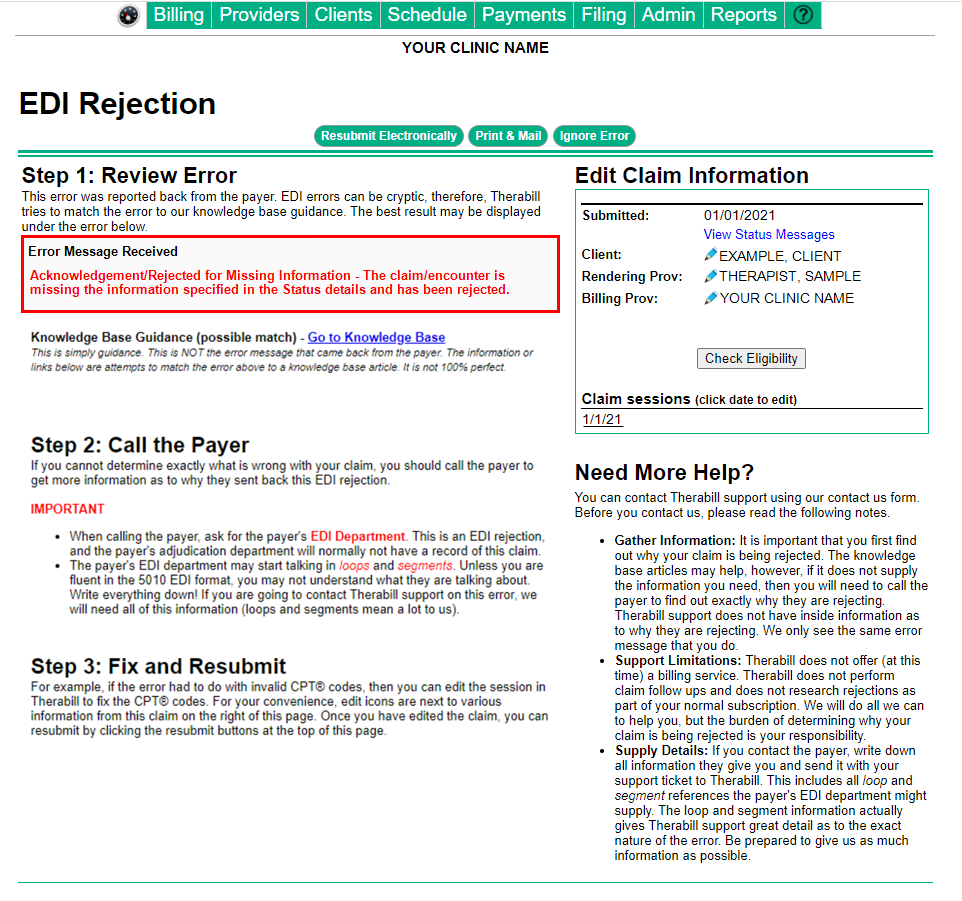
 The claim is missing (not attached) the required documentation on Jopari.
Error Variations
To Resolve
Follow the steps below to edit each session, send the session back to the insurance invoice area, resubmit the claim, then log in to Jopari and upload the documentation needed for this claim.
- From the Edit Claim Information section of the EDI rejection page click on the affected Date of Service (DOS) under Claim Sessions.
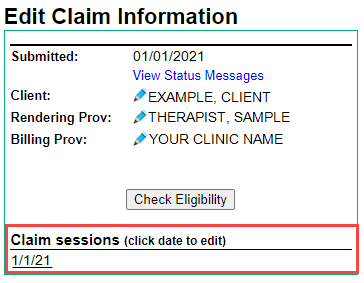
- Then click the
 (black dollar sign) to open the session.
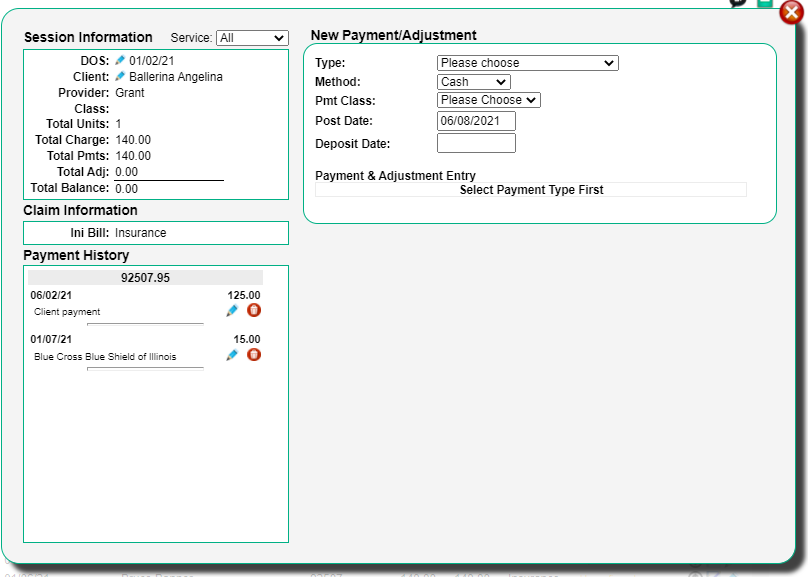
- Use the Type drop-down in the New Payments/ Adjustments section and choose Insurance w/o Adjudication Info.
- From the Payment & Adjustment Entry Section Enter 0 for the New Pmt amount.

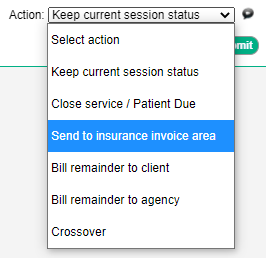
- Use the Action drop-down and select Send to insurance invoice area, then click Submit.
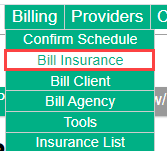
- To resubmit the claim go to the Billing menu, then Bill Insurance.
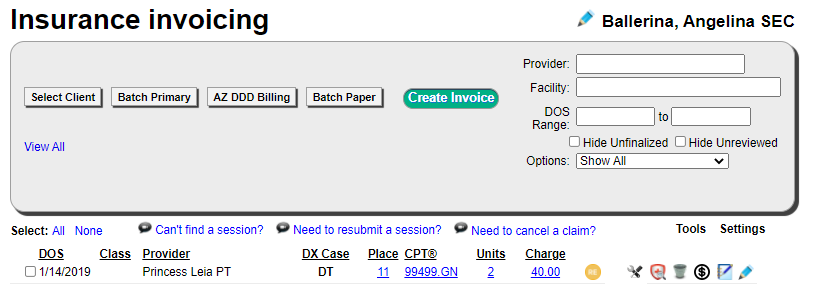
- Click Select Client to open the client list.

- Use the Select Client filter to find the desired client and display their confirmed service lines.

- Check each service line you want to create a claim for and select Create Invoice.
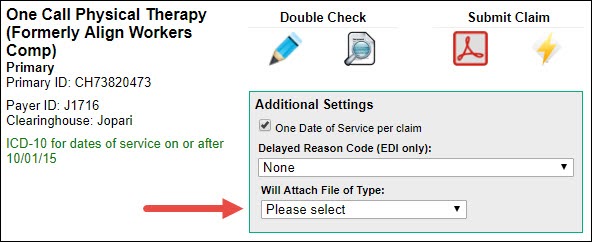
- From the insurance payer mapped to a Jopari Payer ID, select the type of documentation from the Will Attach File of Type drop-down in the Additional Settings section.
- Select the
 Lightning Bolt to submit the claim electronically.
 - After the claim has been submitted, return to the dashboard by clicking the speedometer icon.

- Click on the original rejection error in the Electronic Claim Errors section.

- Then click Ignore Error to remove the error from the list.

Note: To complete the claim submission please go to Jopari to upload your documentation.

Comments
0 comments
Article is closed for comments.