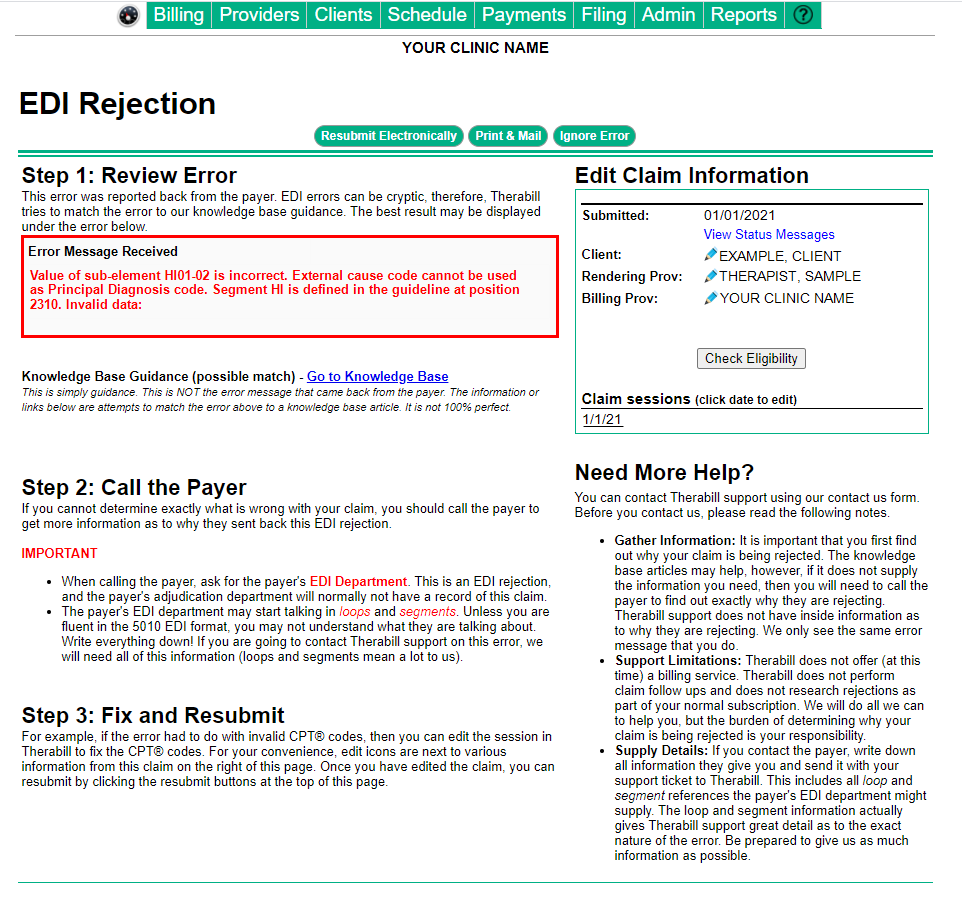
 An Invalid Primary Diagnosis code was used on the claim. You will need to update the Case diagnosis then addend the Note to update both the Diagnosis and Treatment Diagnosis section of the note to fully correct the Diagnosis code error. The process to addend the note will depend on which version of the SOAP note you are using in the WebPT EMR, you can find additional help by following the steps below.
To Resolve
You’ll need to correct the diagnosis code in several places: WebPT EMR case diagnosis in the patient chart, WebPT EMR documentation by addending the notes, and Therabill.
WebPT EMR
Follow the steps below to change the Diagnosis code in the WebPT EMR and Addend the necessary notes in the patient chart.
- In the WebPT EMR, go to the patient’s chart then to Patient Info.
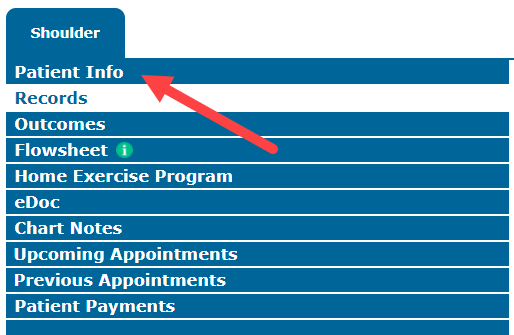
- Click Edit to open the case.

- Click Edit and correct the Diagnoses.

- Click Ok, then Save Patient.
- The provider will need to Addend the Initial Evaluation and most recent Daily note to accurately reflect the corrected Diagnosis and Treatment Diagnosis code(s). Follow the steps to Add an Addendum in SOAP 1.0 or in SOAP 2.0.
Therabill
Follow the steps below to change the Diagnosis code in Therabill.
- From the Clients menu, click Clients then Client List.
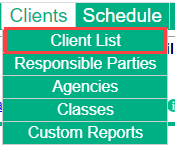
- Use the Name Search to search for the client. Use the filter to narrow your results if needed.

- Click
 to open the client Edit view.
- Click
- Click on the Filing tab.

- Ensure Documentation is highlighted or click the tab.
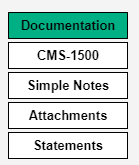
- Ensure Documentation is highlighted or click the tab.
- Click the
 to Edit the session.
- Then edit or verify each Service Code (CPT code) in the session.

- Click the
 to Edit the Treatment Dx.
- Next, you’ll need to uncheck all ICD-10 (Dx codes) that are still enabled, even if they are correct. You do not need to save the changes yet, you will save after completing step (d).
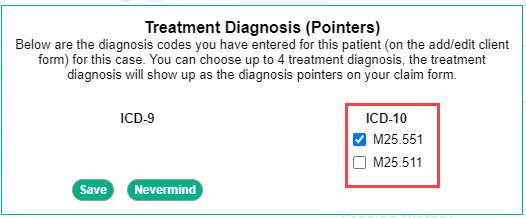
- Then check up to four accurate ICD-10 codes.
Important: Ensure you remove then re-check the ICD-10 codes as indicated in steps (c) and (d) failure to do so will result in a blank transmission of Box 21 and further errors. - Click Save.
- Then edit or verify each Service Code (CPT code) in the session.
- Once all codes have been changed, click Save & Done.

Return the Claim to the Insurance Invoicing area
Follow the steps below to return the claim to the Insurance Invoicing area and bill the insurance.
- From the Payments menu, click Enter Payments.
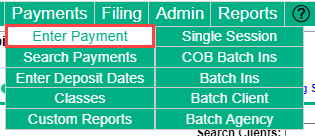
- Using the Payment Filter, enter in the Client/Patient name and correct Service Date Range.

- Click on the
 to the right of the line of service, to open the session.
 - On the right, below the Session History, click Send back to Insurance Invoicing Area.
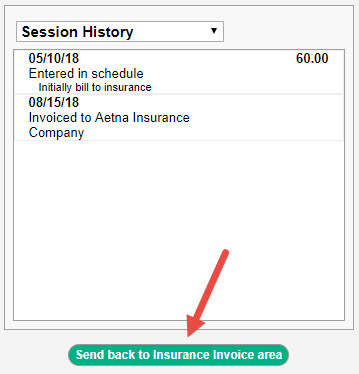
Note: If Send back to Insurance Invoicing Area is not visible, close the session using the (red x) in the upper right and skip to step 6.
- Click Yes, to confirm.

- Click Save & Done at the bottom of the session. The Billing status will appear as Confirmed in red, indicating that the session is in the invoicing area. Your session is ready to bill, skip to step 7.

- Click Yes, to confirm.
- If the Send to Insurance Invoicing Area is not visible, you will need to manually send the session back to the Insurance Invoicing area from the session.
- From the Payments menu, click Enter Payments.

- Using the Payment Filter, enter in the Client/Patient name and correct Service Date Range.

- Click the
 icon, to the right of the line of service, to open the session.
 - From the New Payment/Adjustment section, select Client from the Type drop-down.
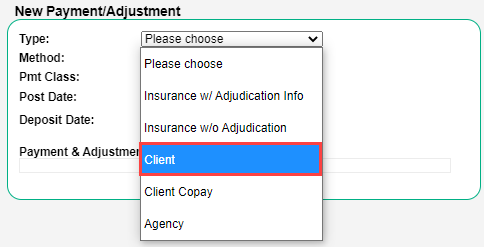
- All CPT codes will be listed for the Date of Service under the Payment & Adjustment Entry section.

- Enter a zero payment amount for each service line and select Send to insurance invoice area from the Action drop-down.
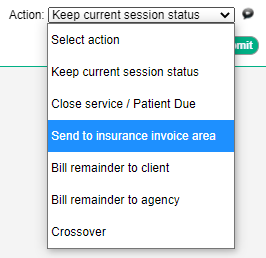
- Click Submit, the Billing Status should be Confirmed. Your session is ready to bill.
- From the Payments menu, click Enter Payments.
- To bill the date of service to the insurance, from the Billing menu, click Bill Insurance, then click Select Client, and bill out the Date of Service to the insurance of your choice.
Resolve EDI Rejection
To resolve the EDI Rejection, click Ignore Error on the rejection screen.

Comments
0 comments
Article is closed for comments.